📋 Operating the laser
How to cut or engrave something using the laser
- ⚡️Turning on the laser
- ✅ Pre-use checks
- 🎯 Homing the laser
- 🔎 Focusing
- 🏁 After you've finished
- ❌ Shutting down the laser
⚡️Turning on the laser
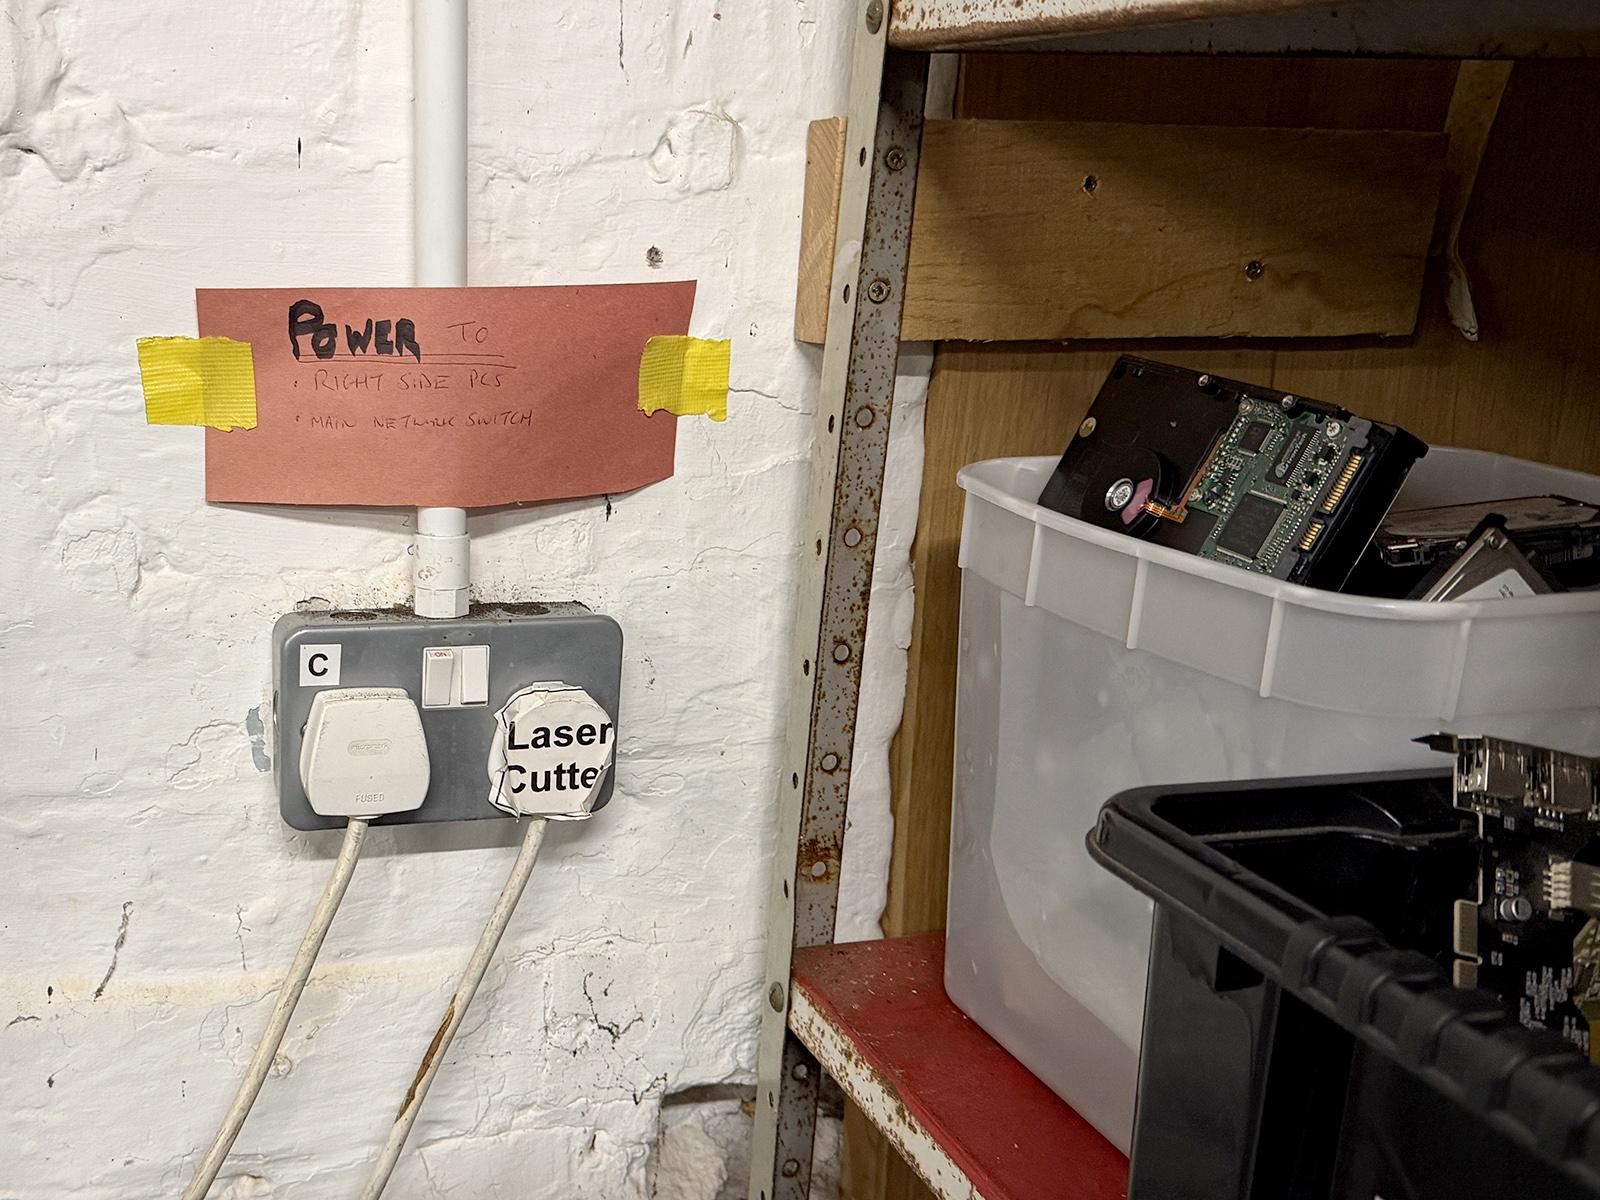
- Turn on the plug near the computer area

- The cooler should beep as it powers up. If it does not, check that the unit is switched on before proceeding.
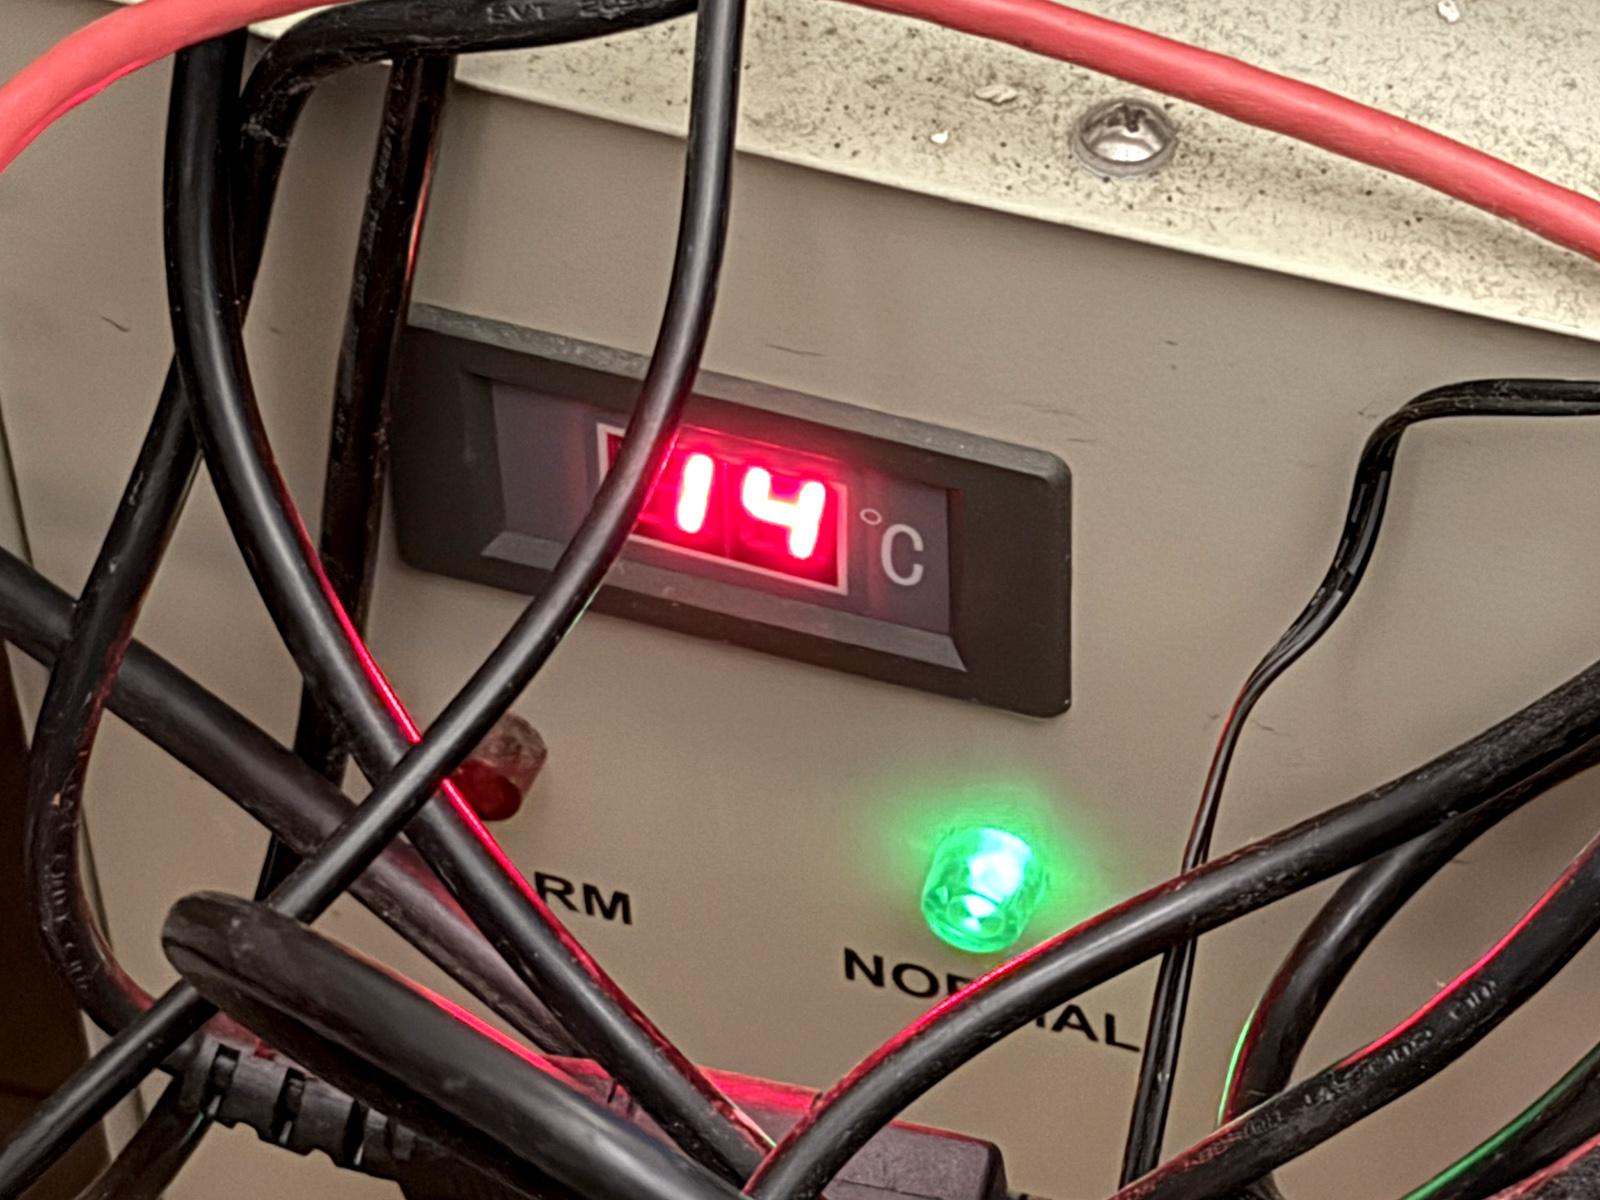
- Check the temperature displayed on the cooler behind the laser; it should be higher than (currently) 15°C. If not, do not use the laser. Also, check the temperature in the Hackspace: this should (currently) be greater than 15°C.

- Boot up the PC - password will be provided during your training
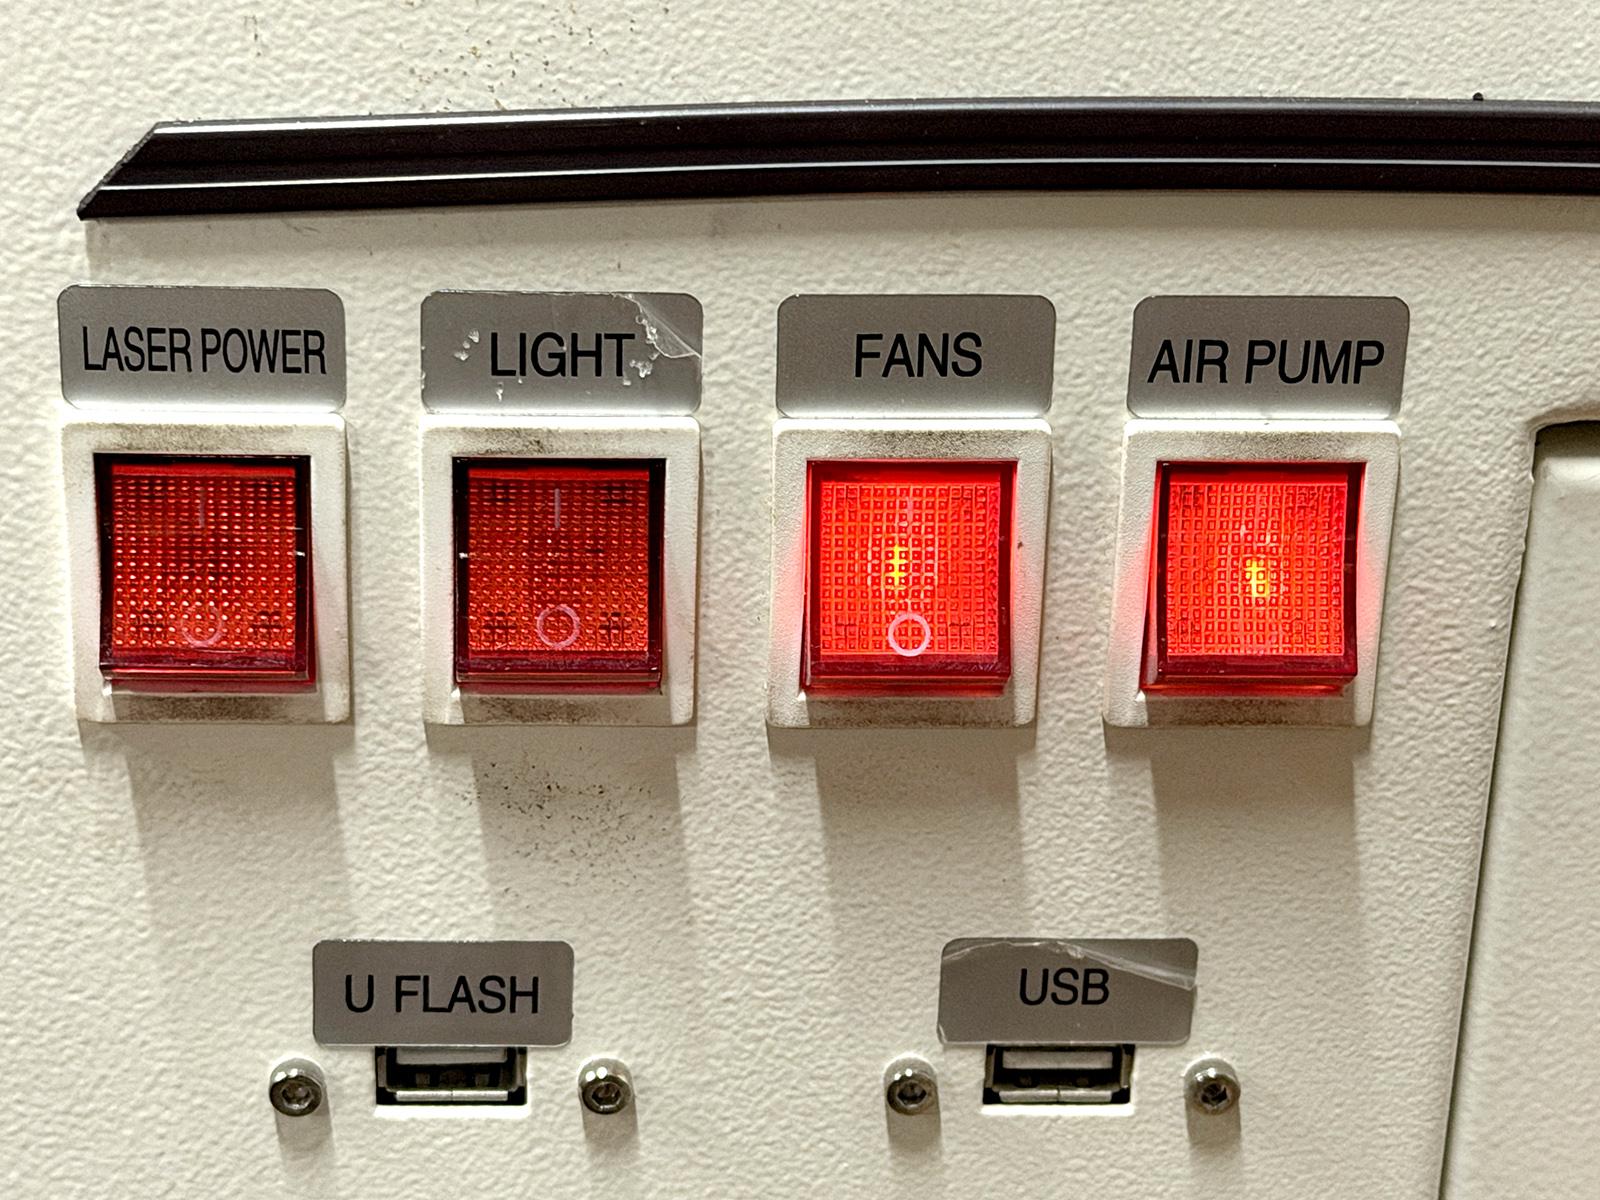
- Turn on all the switches on the side of the laser: leave a gap between closing each switch to avoid tripping the circuits. Not all the LEDs in the switches are working.

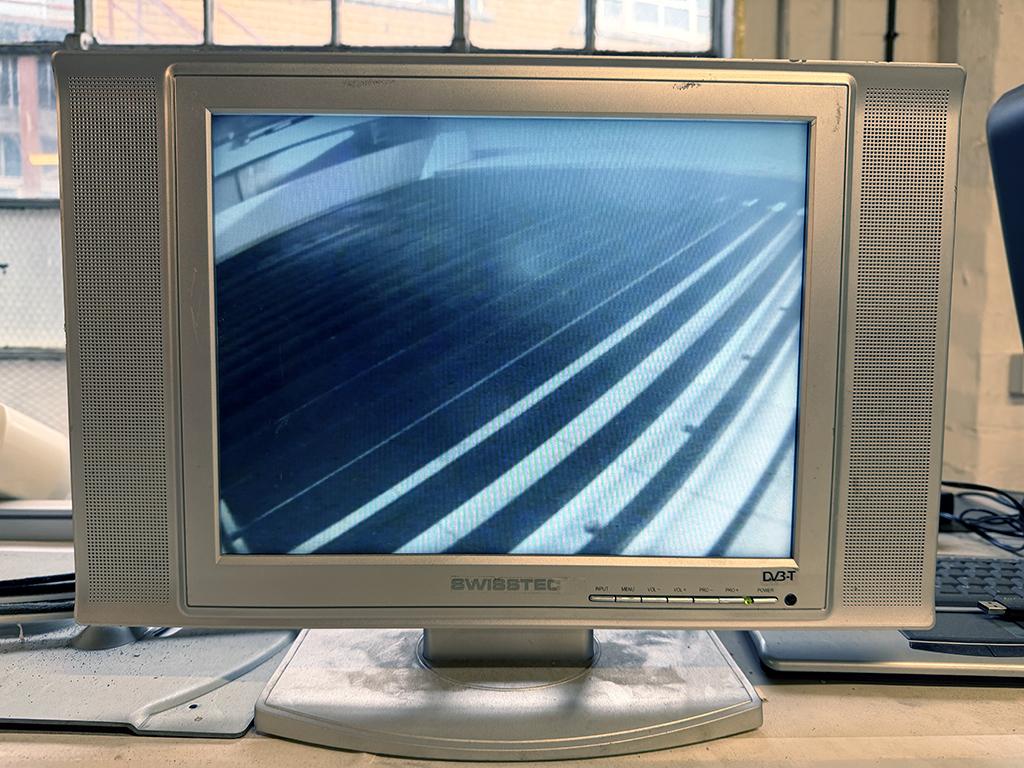
- Switch on the camera monitor

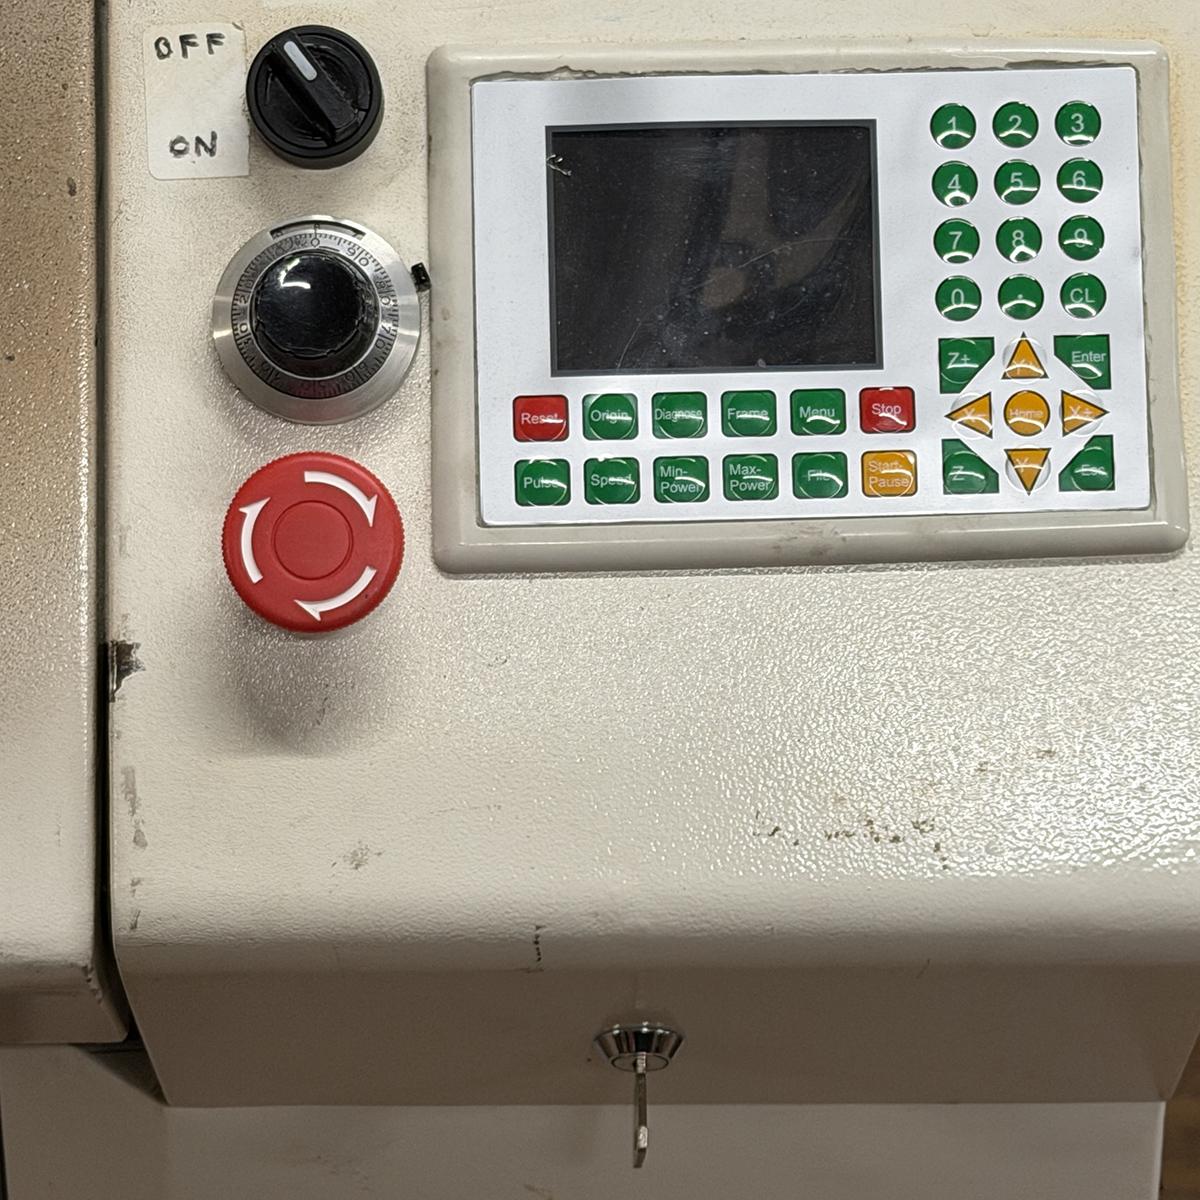
- Insert the Safety Key and turn it to the on position - you will be told where the key is kept during your training

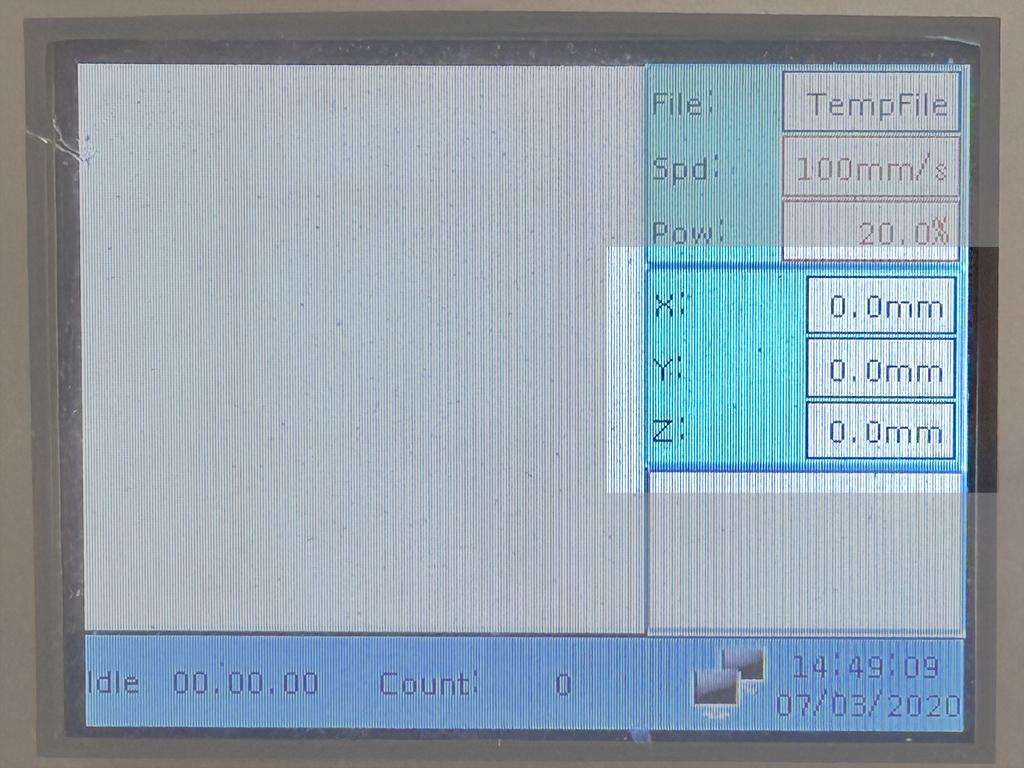
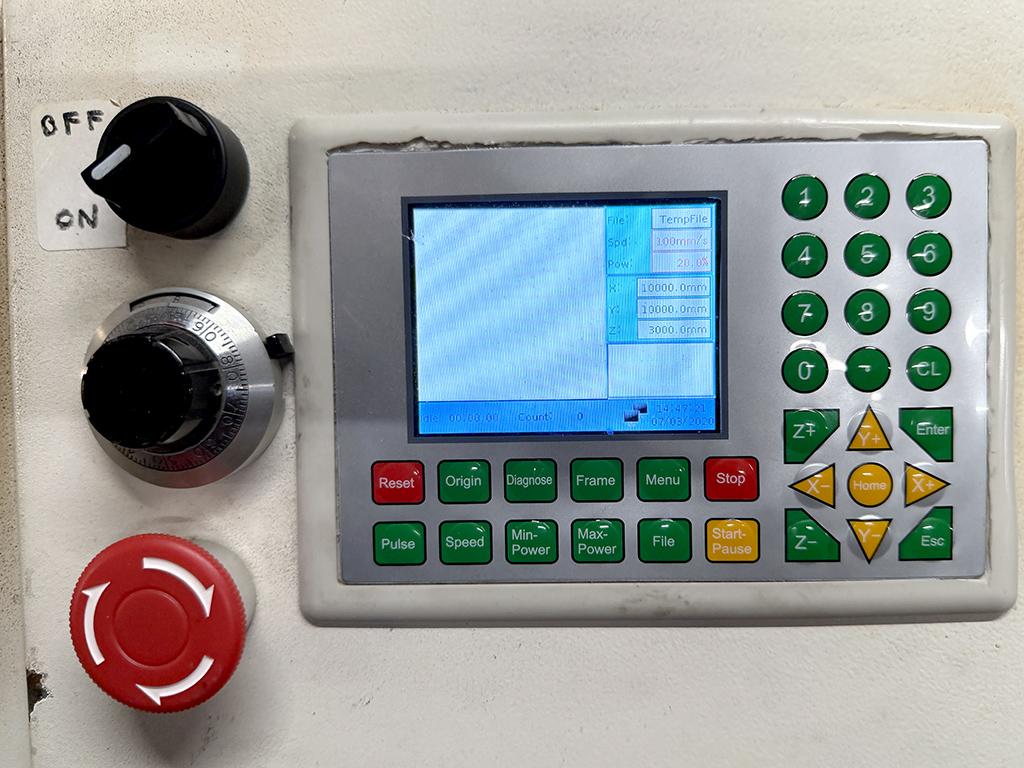
- Switch on the laser using the main dial switch and wait for the screen to finish booting

✅ Pre-use checks
- Ensure the bed is clear of debris
- Ensure the blades and bed are clean to reduce flashback*
- Check the air quality monitor is green (see health and safety guidance)
- Check that nothing is obstructing the extraction vents at the rear of the laser bed

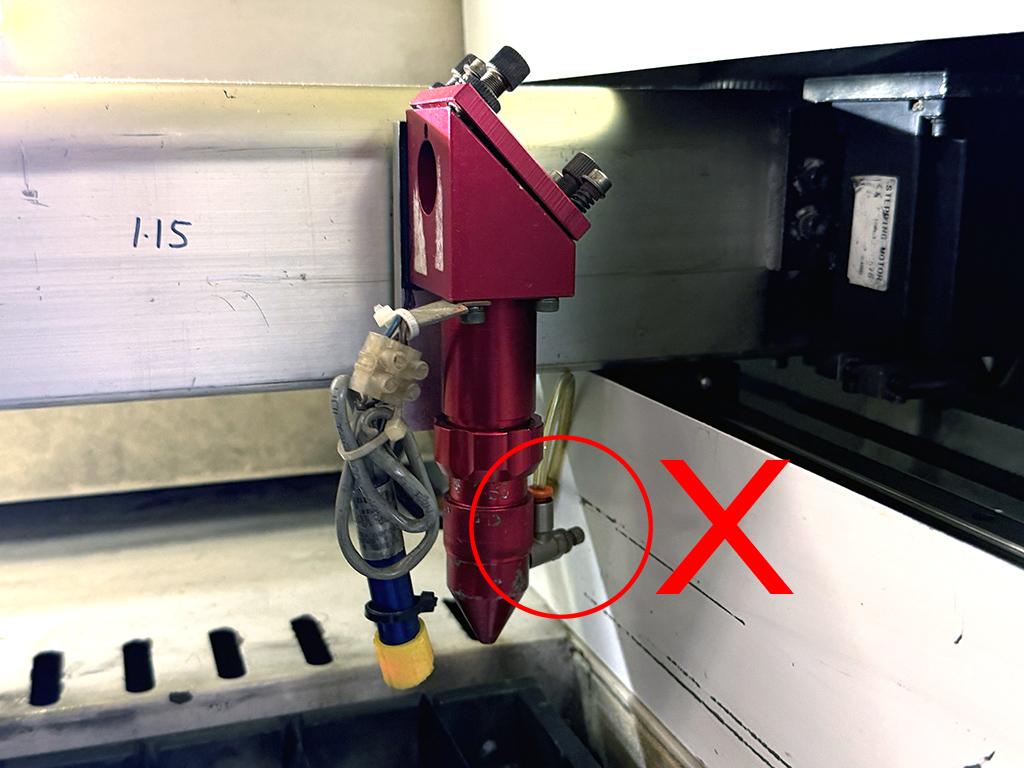
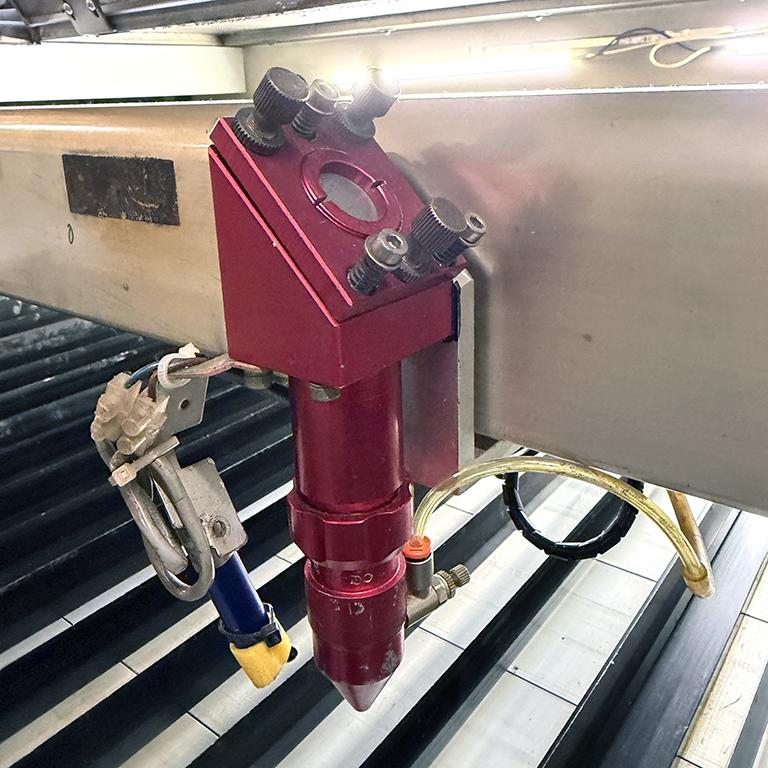
- Check that the air assist tube is pointing to the rear of the laser so that it does not bang against the side wall when the laser head homes


- Make sure there is no obvious damage to the laser head, gantry or slats
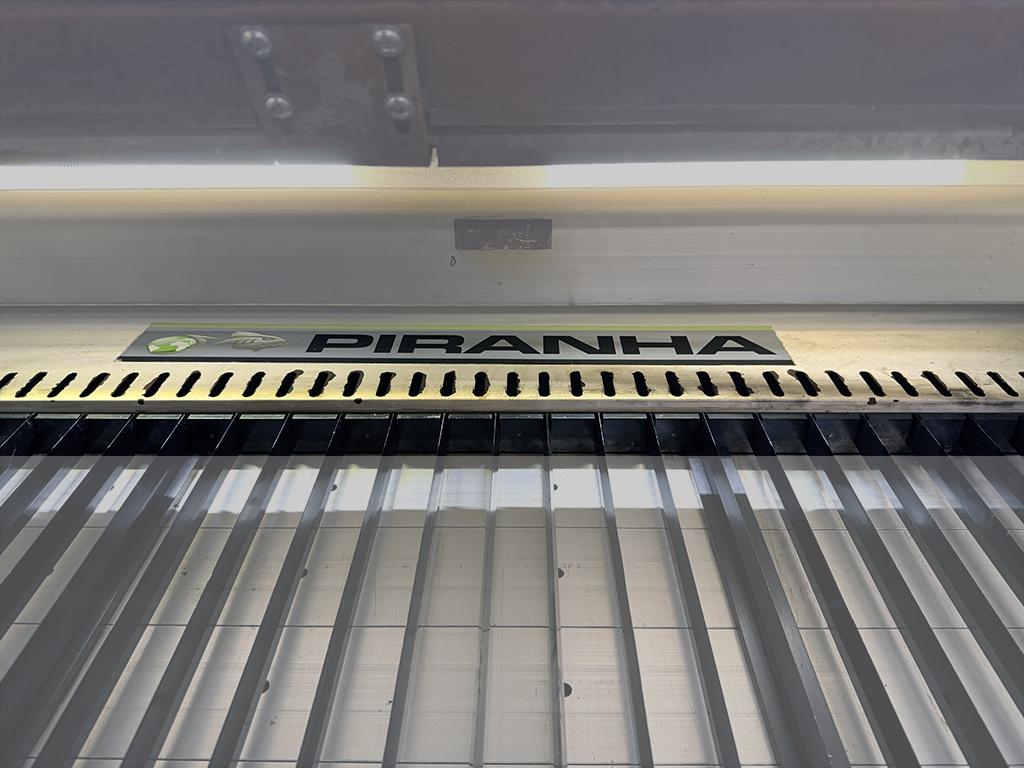
Flashback: The marking or scorching that occurs on the underside of a laser-cut material when the laser beam reflects off the bed or slats and burns the surface again. It is more likely when the bed is dirty or reflective.
🎯 Homing the laser
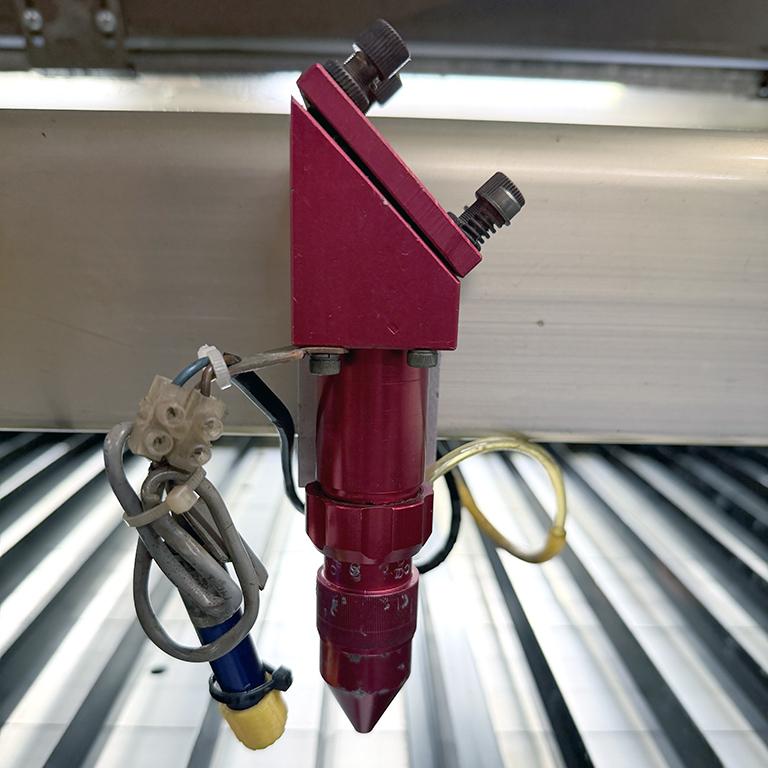
- Make sure the red lens focus tube is raised and fixed in place. Don't forget that the tightener screws the opposite way to normal, and that you must support the bottom part of the tube so that it doesn't drop out.

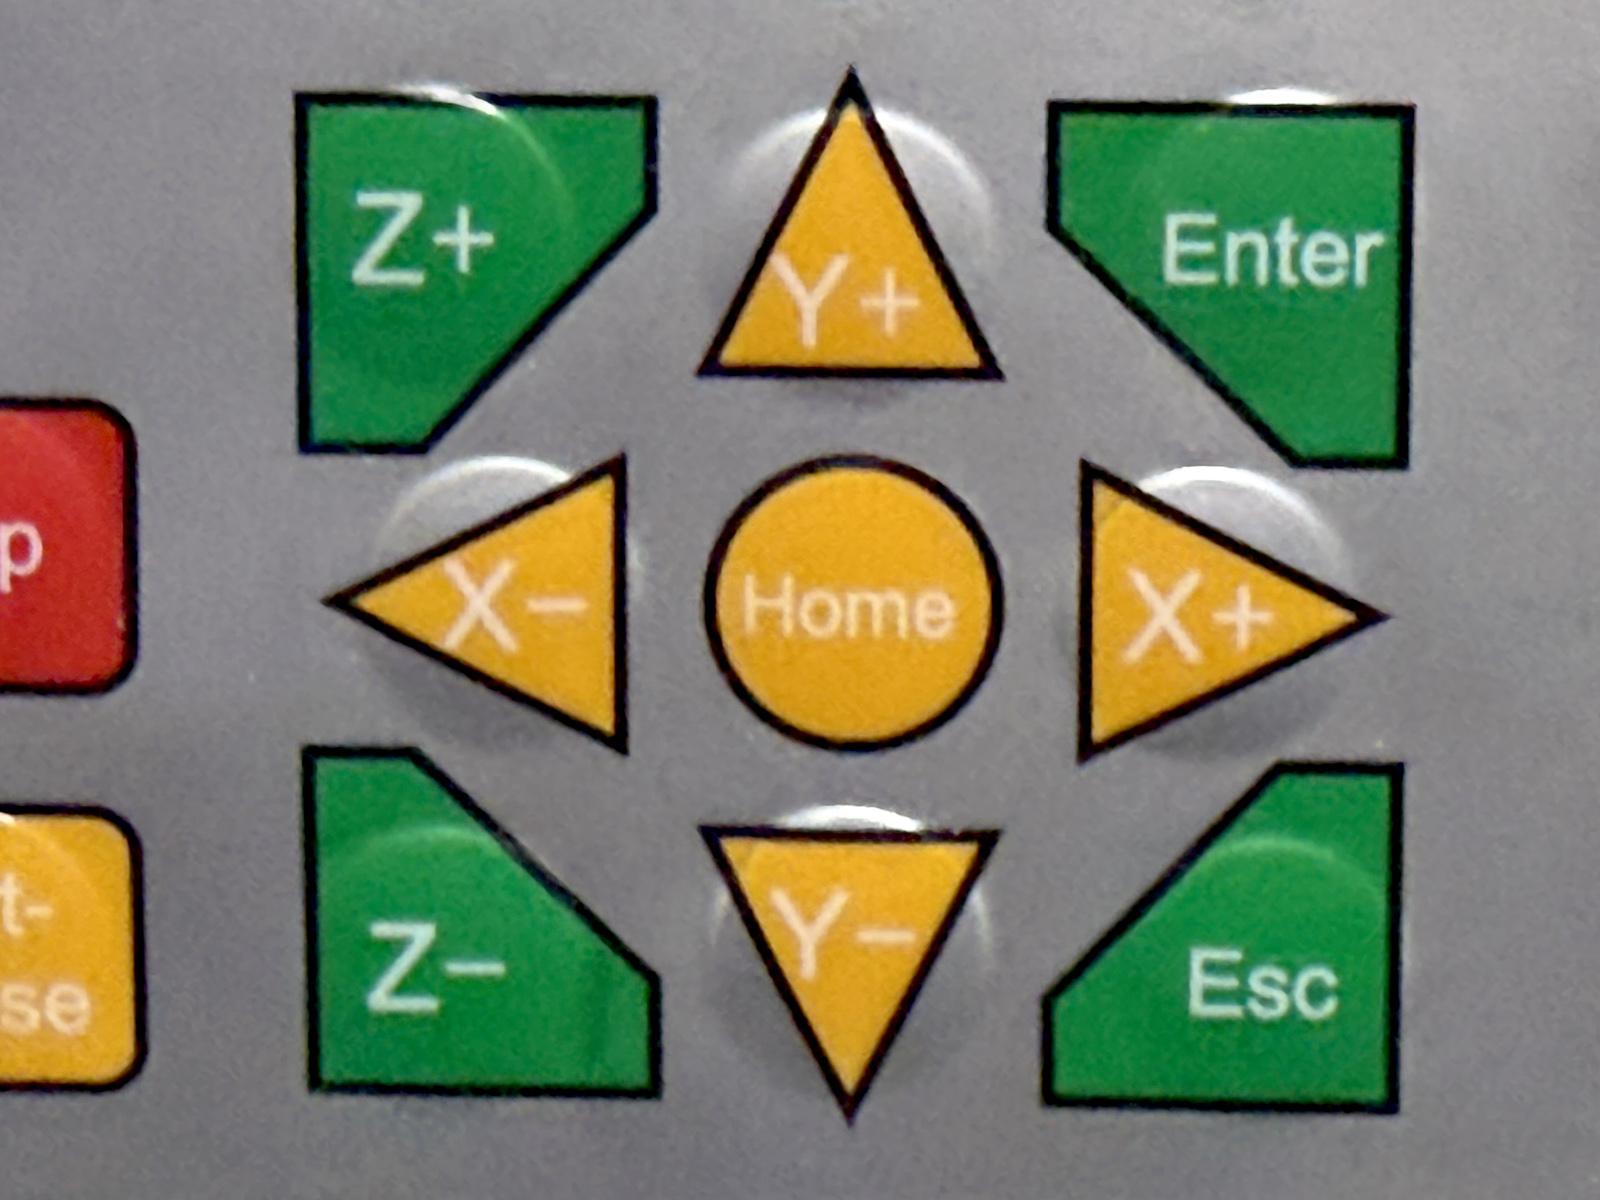
- On the laser panel, press the yellow home button (centre of arrows)

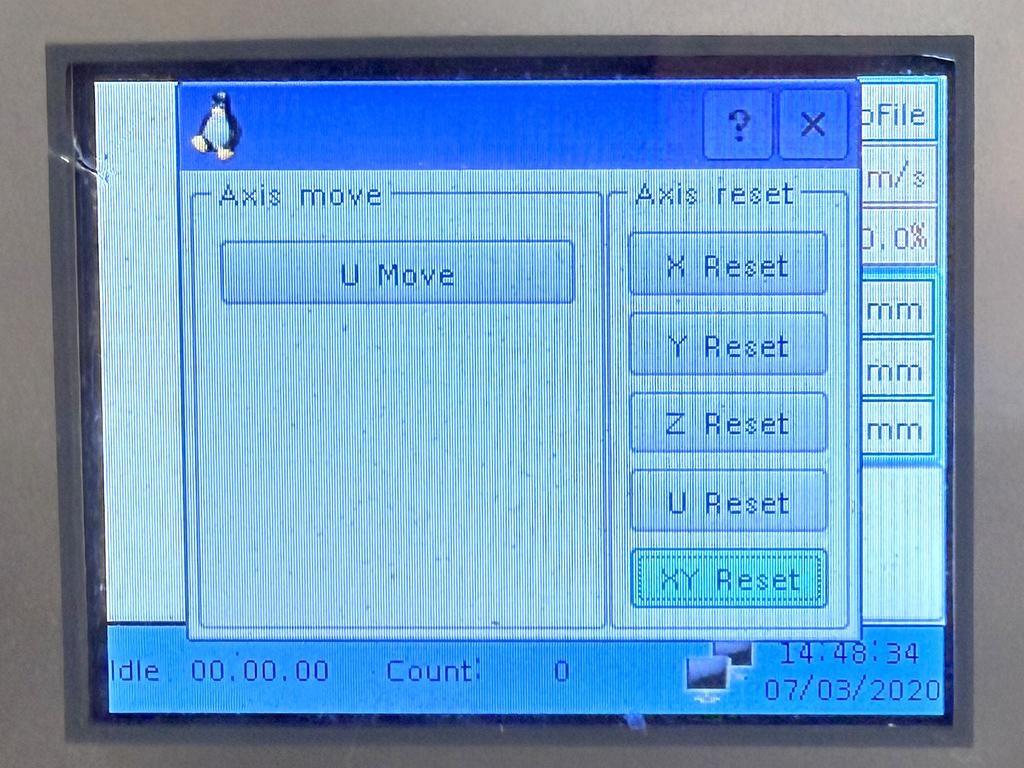
- Press the Y-/down arrow key until you have selected XY Reset button and press Enter on the panel. The gantry will move side to side, forward and back, and then finish in the back right corner of the laser.

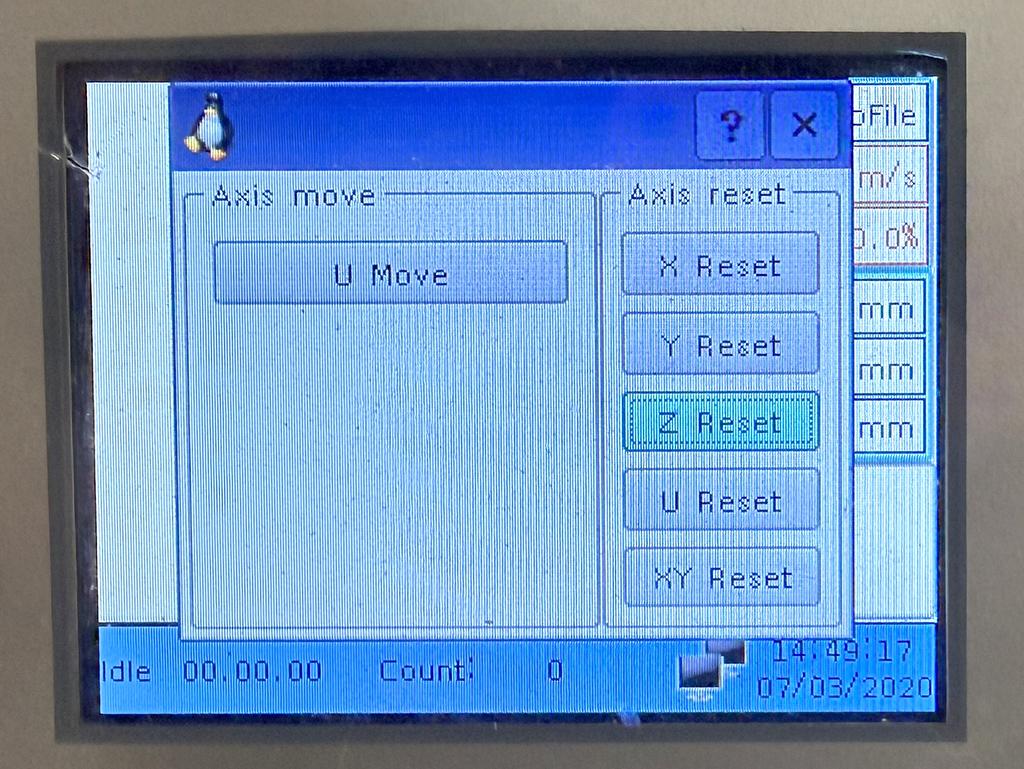
- Repeat the process, this time selecting the Z Reset button. The bed will move up and down.

- The panel should now read 0.0mm for the X, Y and Z axes